Synchronisationsregeln erstellen
A sync rule defines how events from one calendar (the source) should be synchronized to another calendar (the target) as blocker events. Example: “Sync all busy events from my personal Google Calendar to my work Outlook calendar as ‘Busy’ blockers.”
Before You Start
Make sure you have:
- At least 2 calendars connected — You need a source calendar and a target calendar
- Both calendars showing “Active” status — Check the Calendar Connections page
- Events in your source calendar — For testing the sync
Steps
-
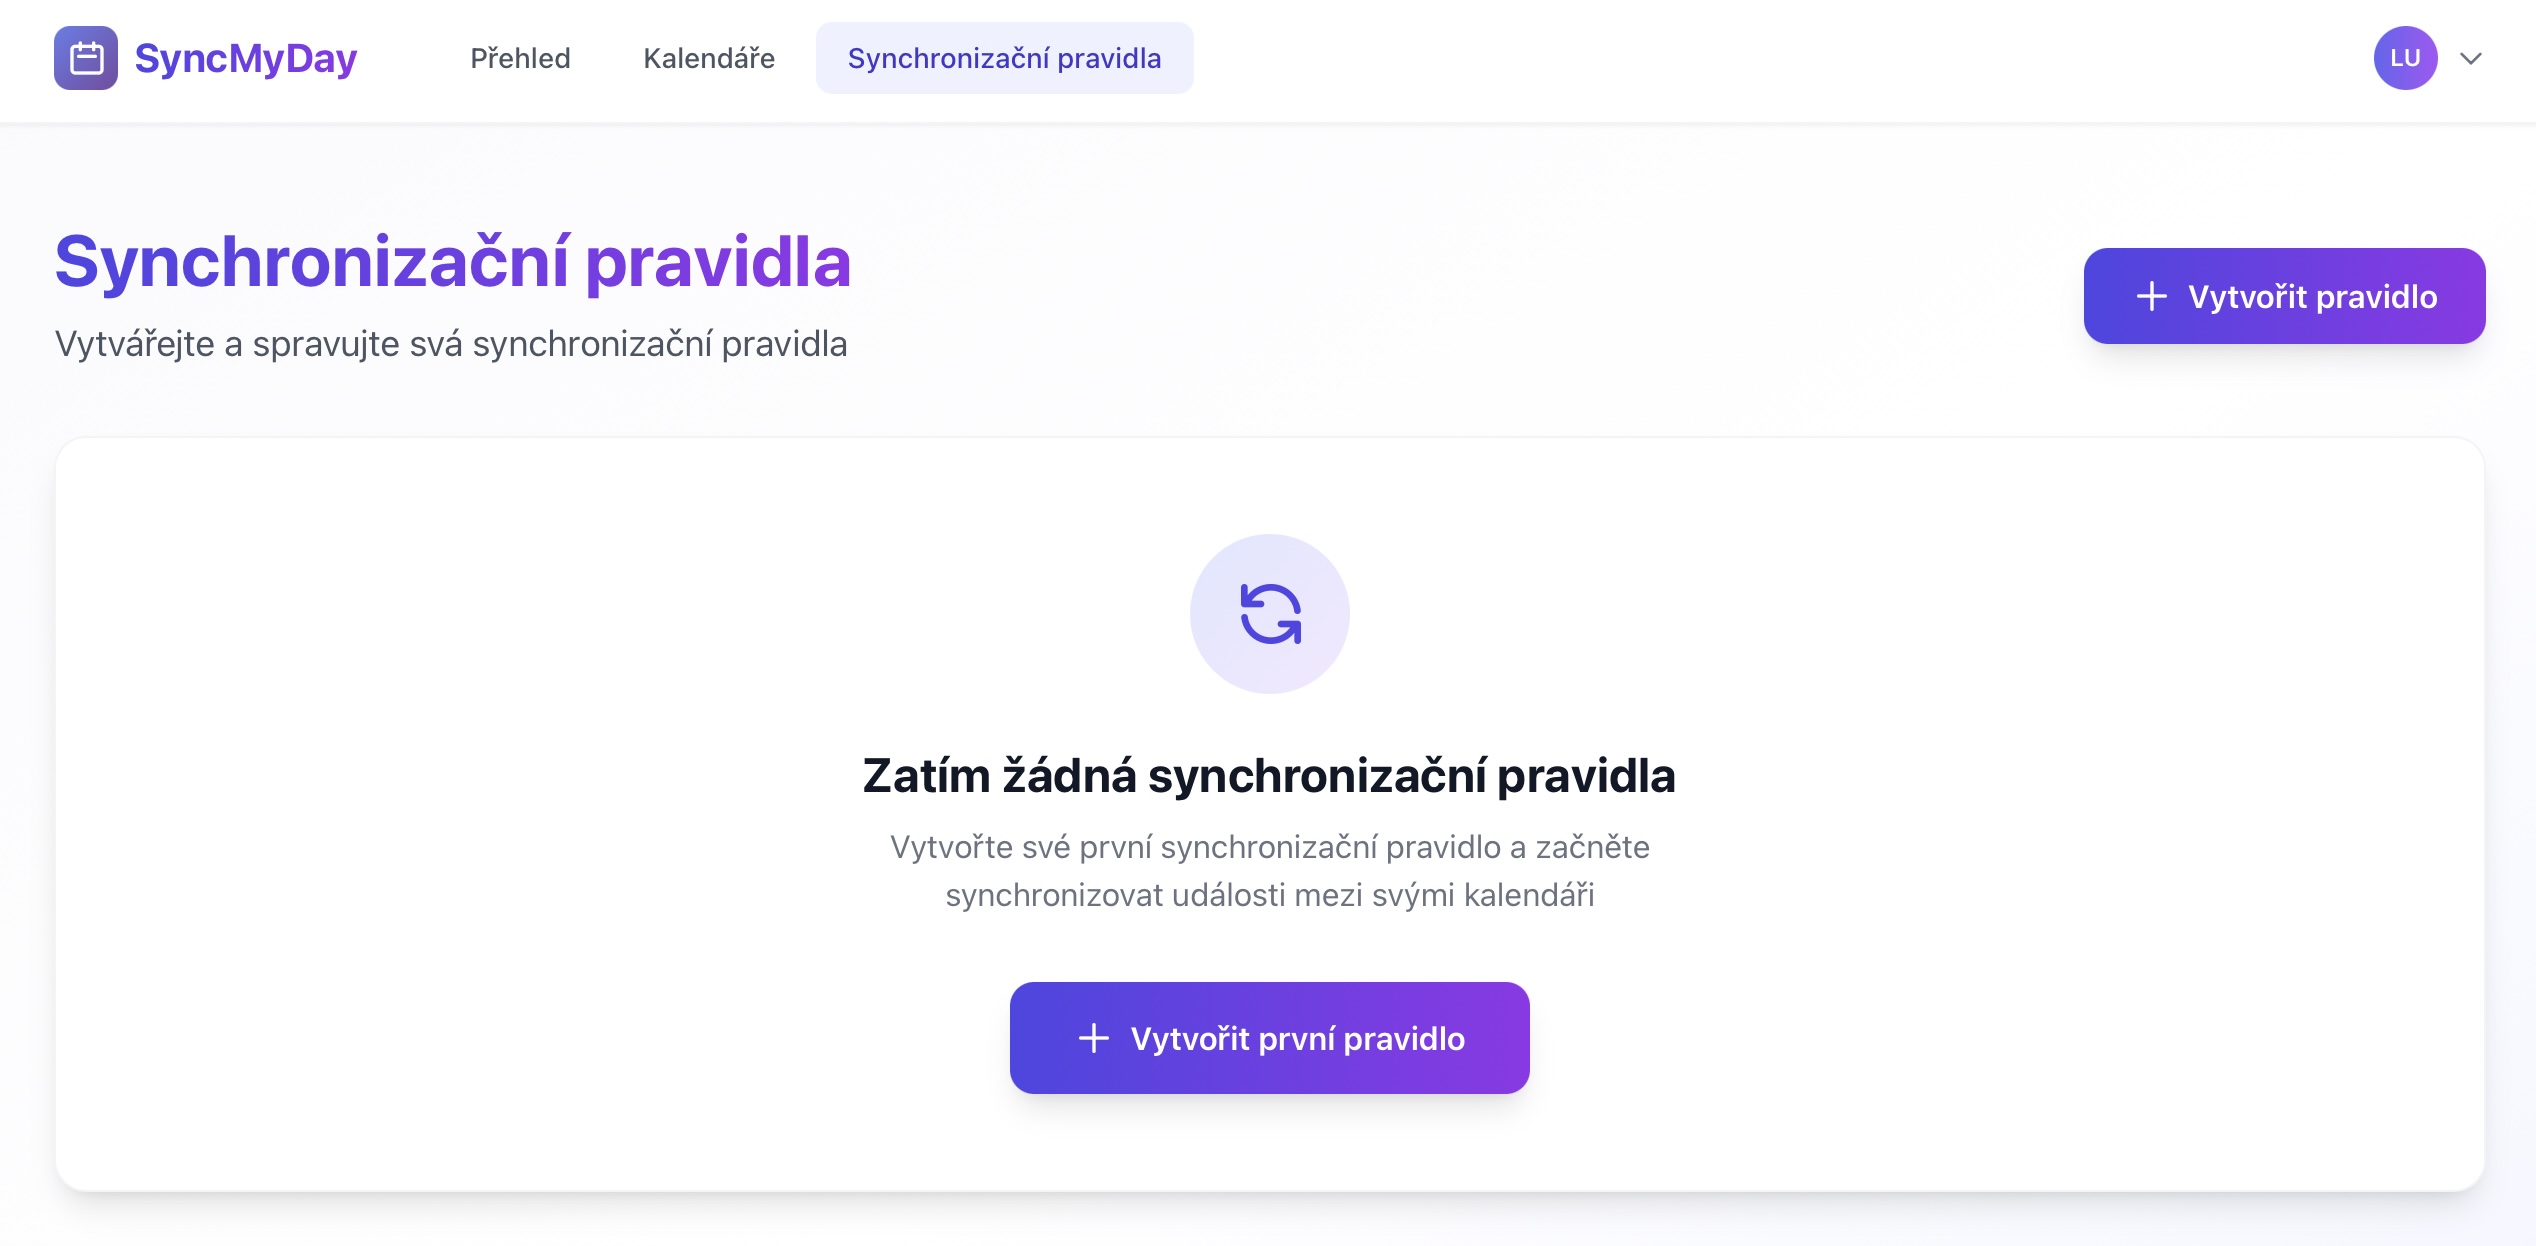
Go to Sync Rules
Navigate to Sync Rules in the main menu, or go directly to the Sync Rules page from your dashboard.
 (öffnet das Bild in voller Größe)
Dashboard with Sync Rules menu highlighted -
Click “Create New Sync Rule”
On the Sync Rules page, click the Create New Sync Rule or + New Rule button.
-
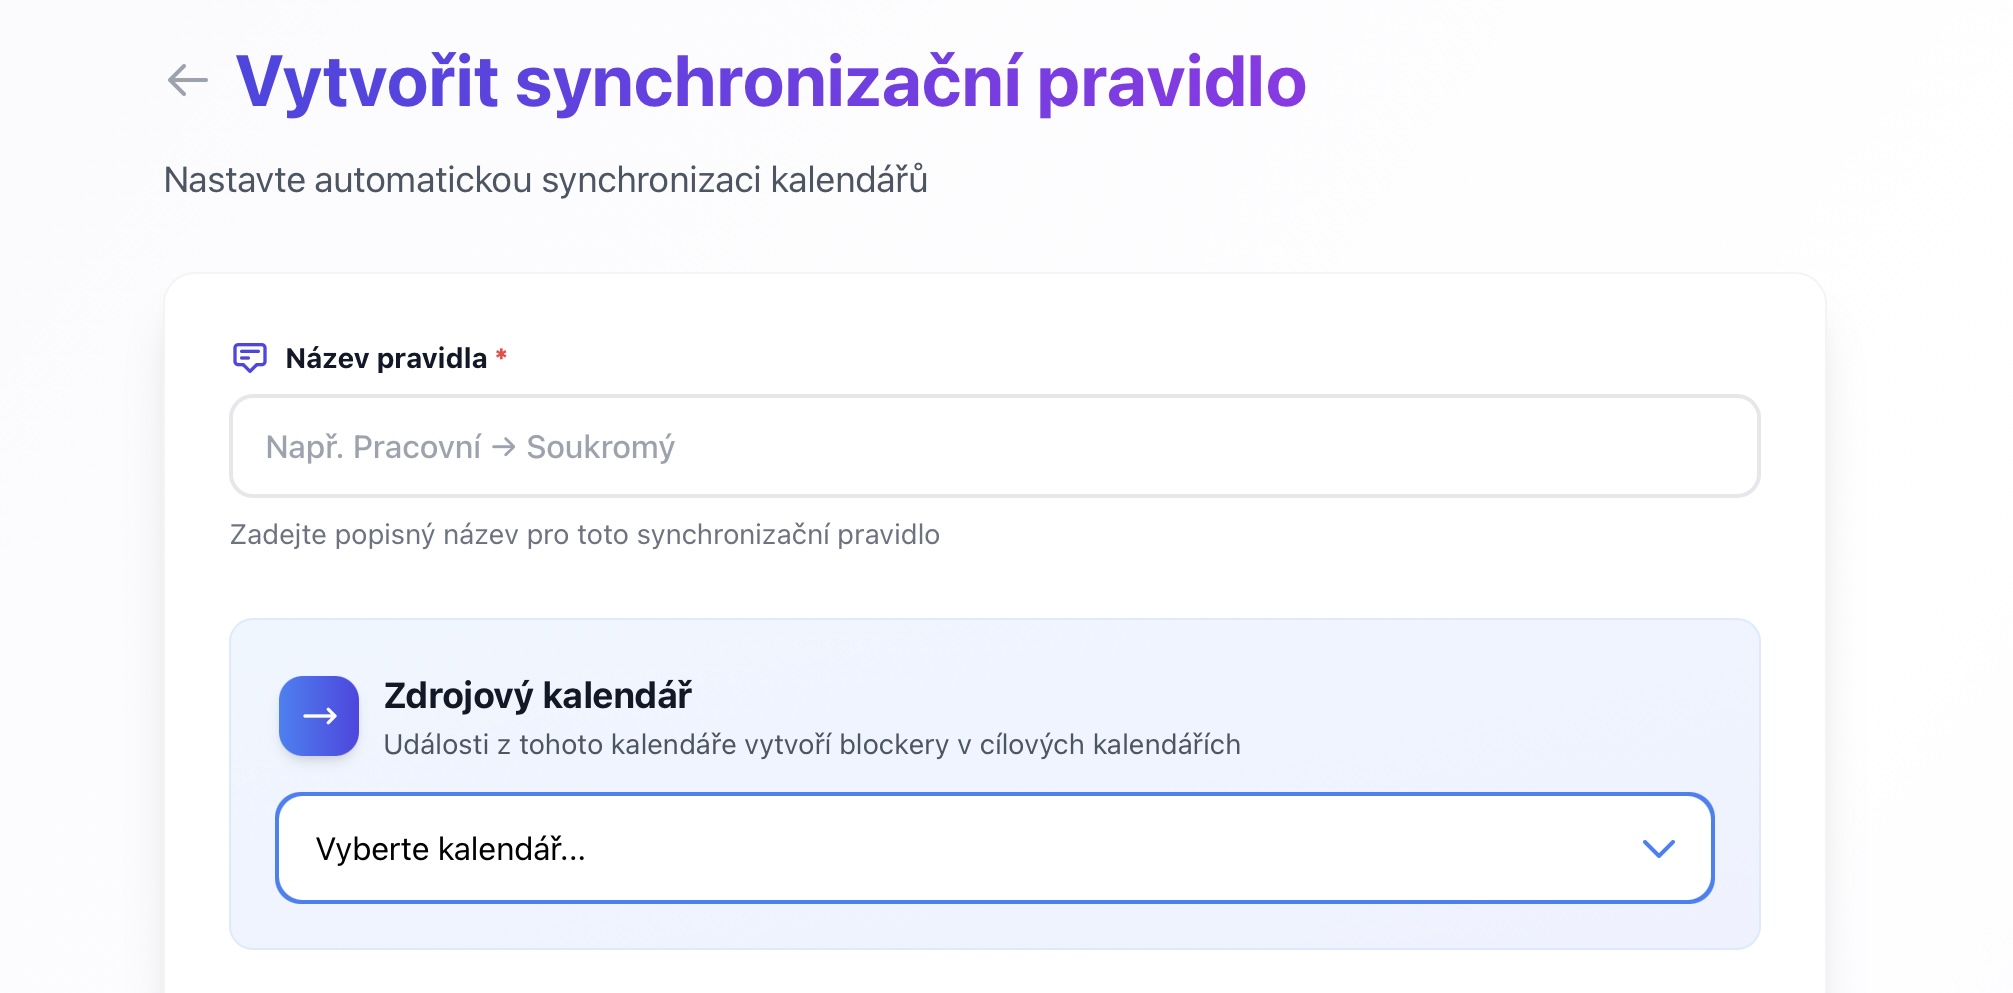
Select Source Calendar
Choose which calendar’s events you want to sync from.
Common examples:
- Personal calendar (source) → Work calendar (target): Block work time when you have personal appointments
- Work calendar (source) → Personal calendar (target): Block personal time when you’re in work meetings
 (öffnet das Bild in voller Größe)
Source calendar dropdown showing connected calendars -
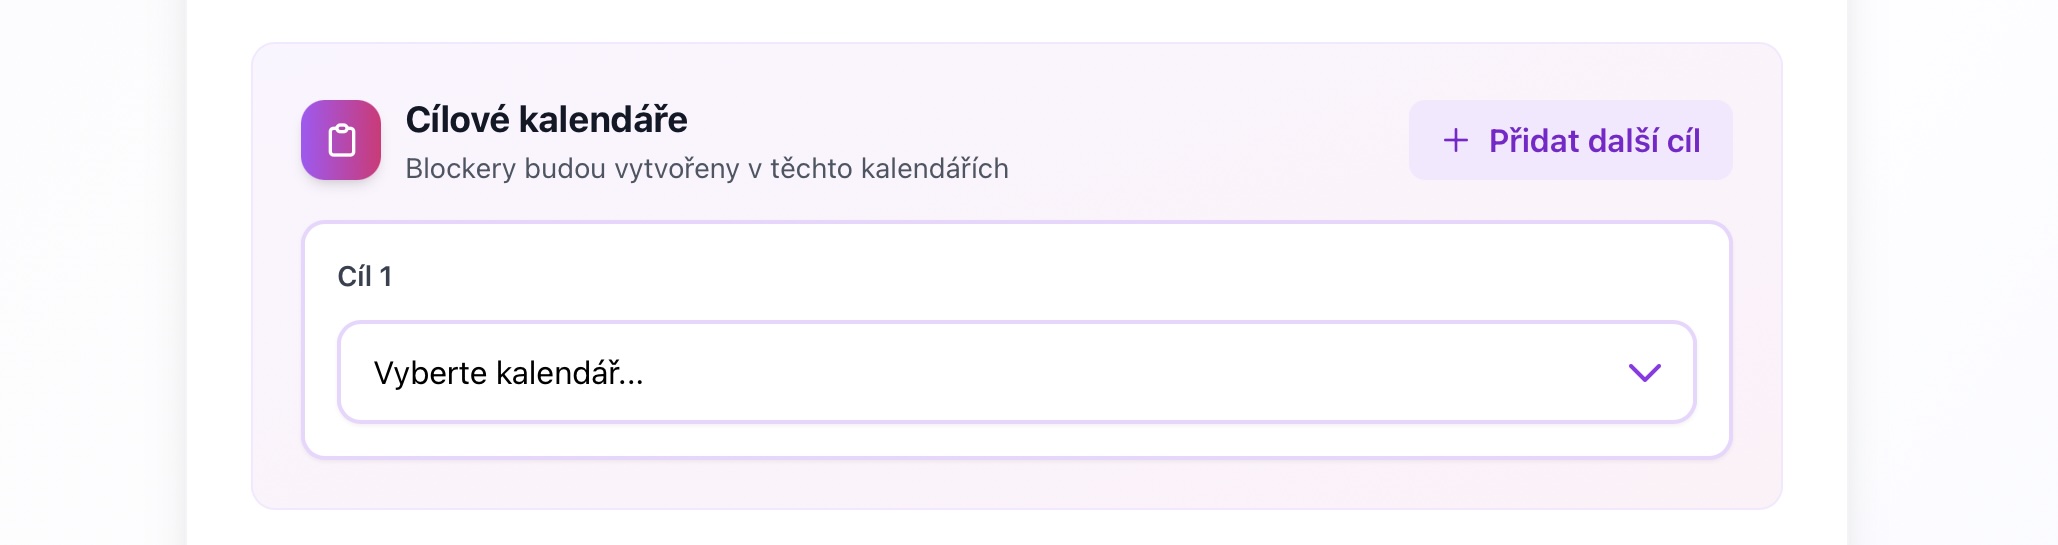
Select Target Calendar(s)
Choose one or more calendars where blocker events should be created.
 (öffnet das Bild in voller Größe)
Target calendar selection with checkboxes -
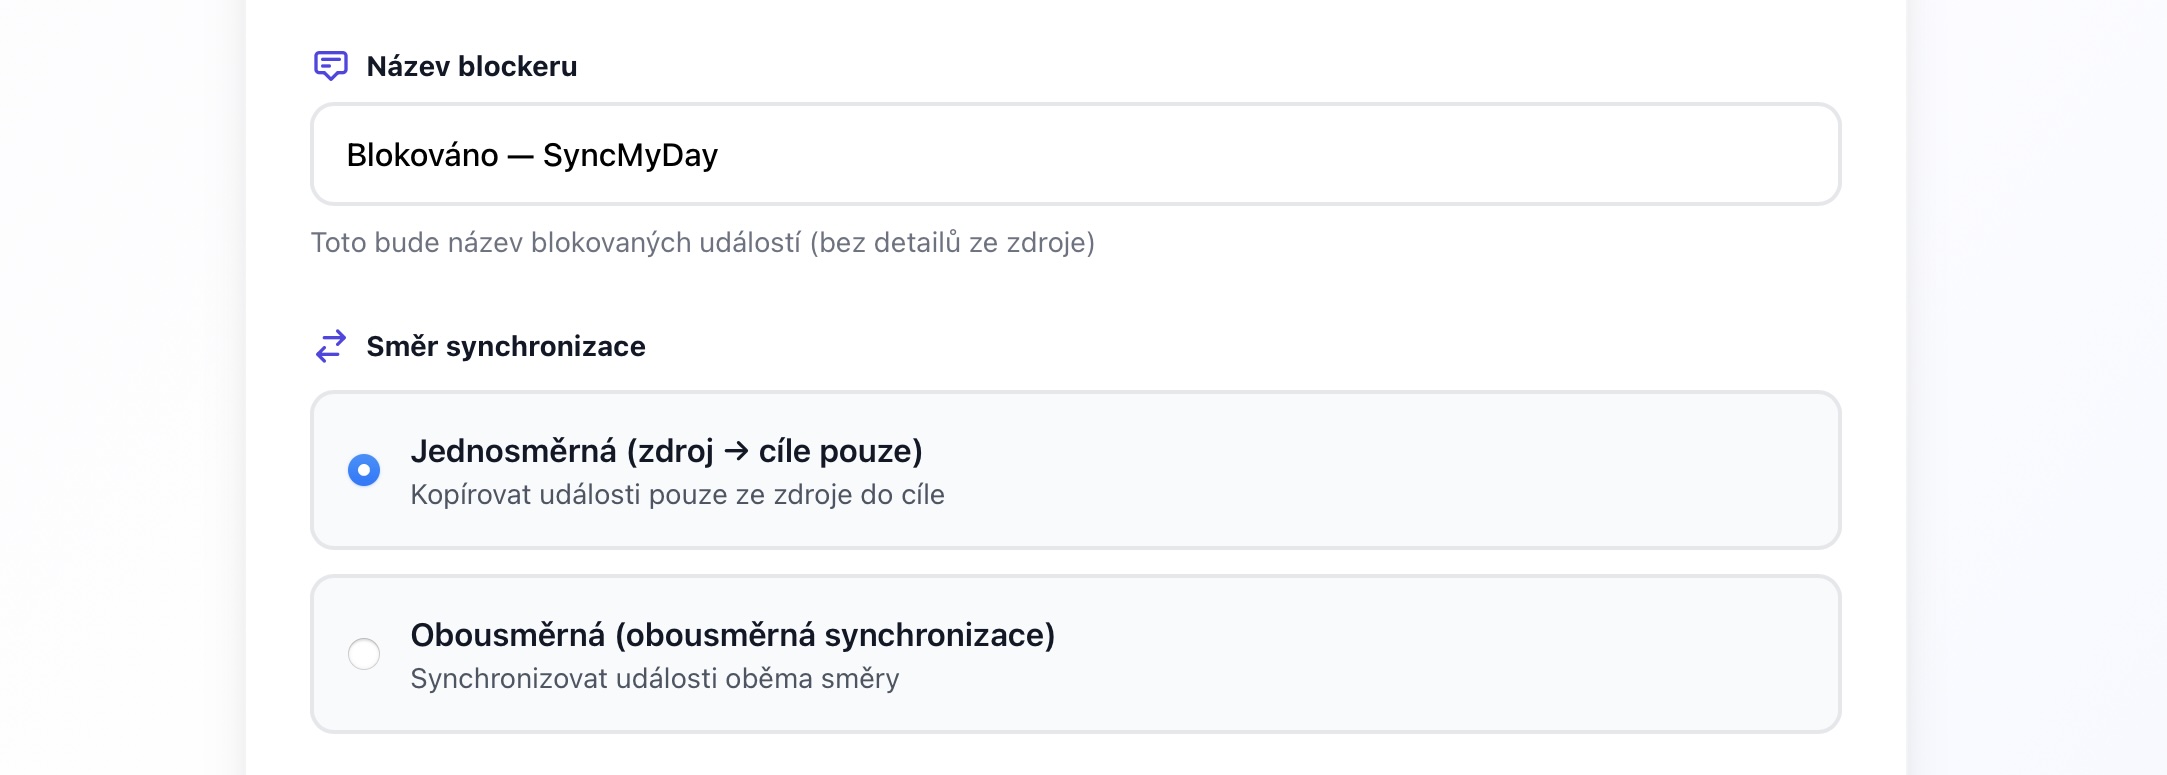
Configure Blocker Event Title
Enter the text that will appear as the title for all blocker events created by this rule.
Popular titles:
Busy— Simple and universalPersonal Time— Indicates private timeNot Available— Clear unavailabilityMeeting— Generic placeholder🔒 Private— With emoji for visual distinction
 (öffnet das Bild in voller Größe)
Blocker title input field -
Set Up Filters (Optional but Recommended)
Filters control which events get synced. This is where you can fine-tune your synchronization. Each filter is described below under Available Filters.
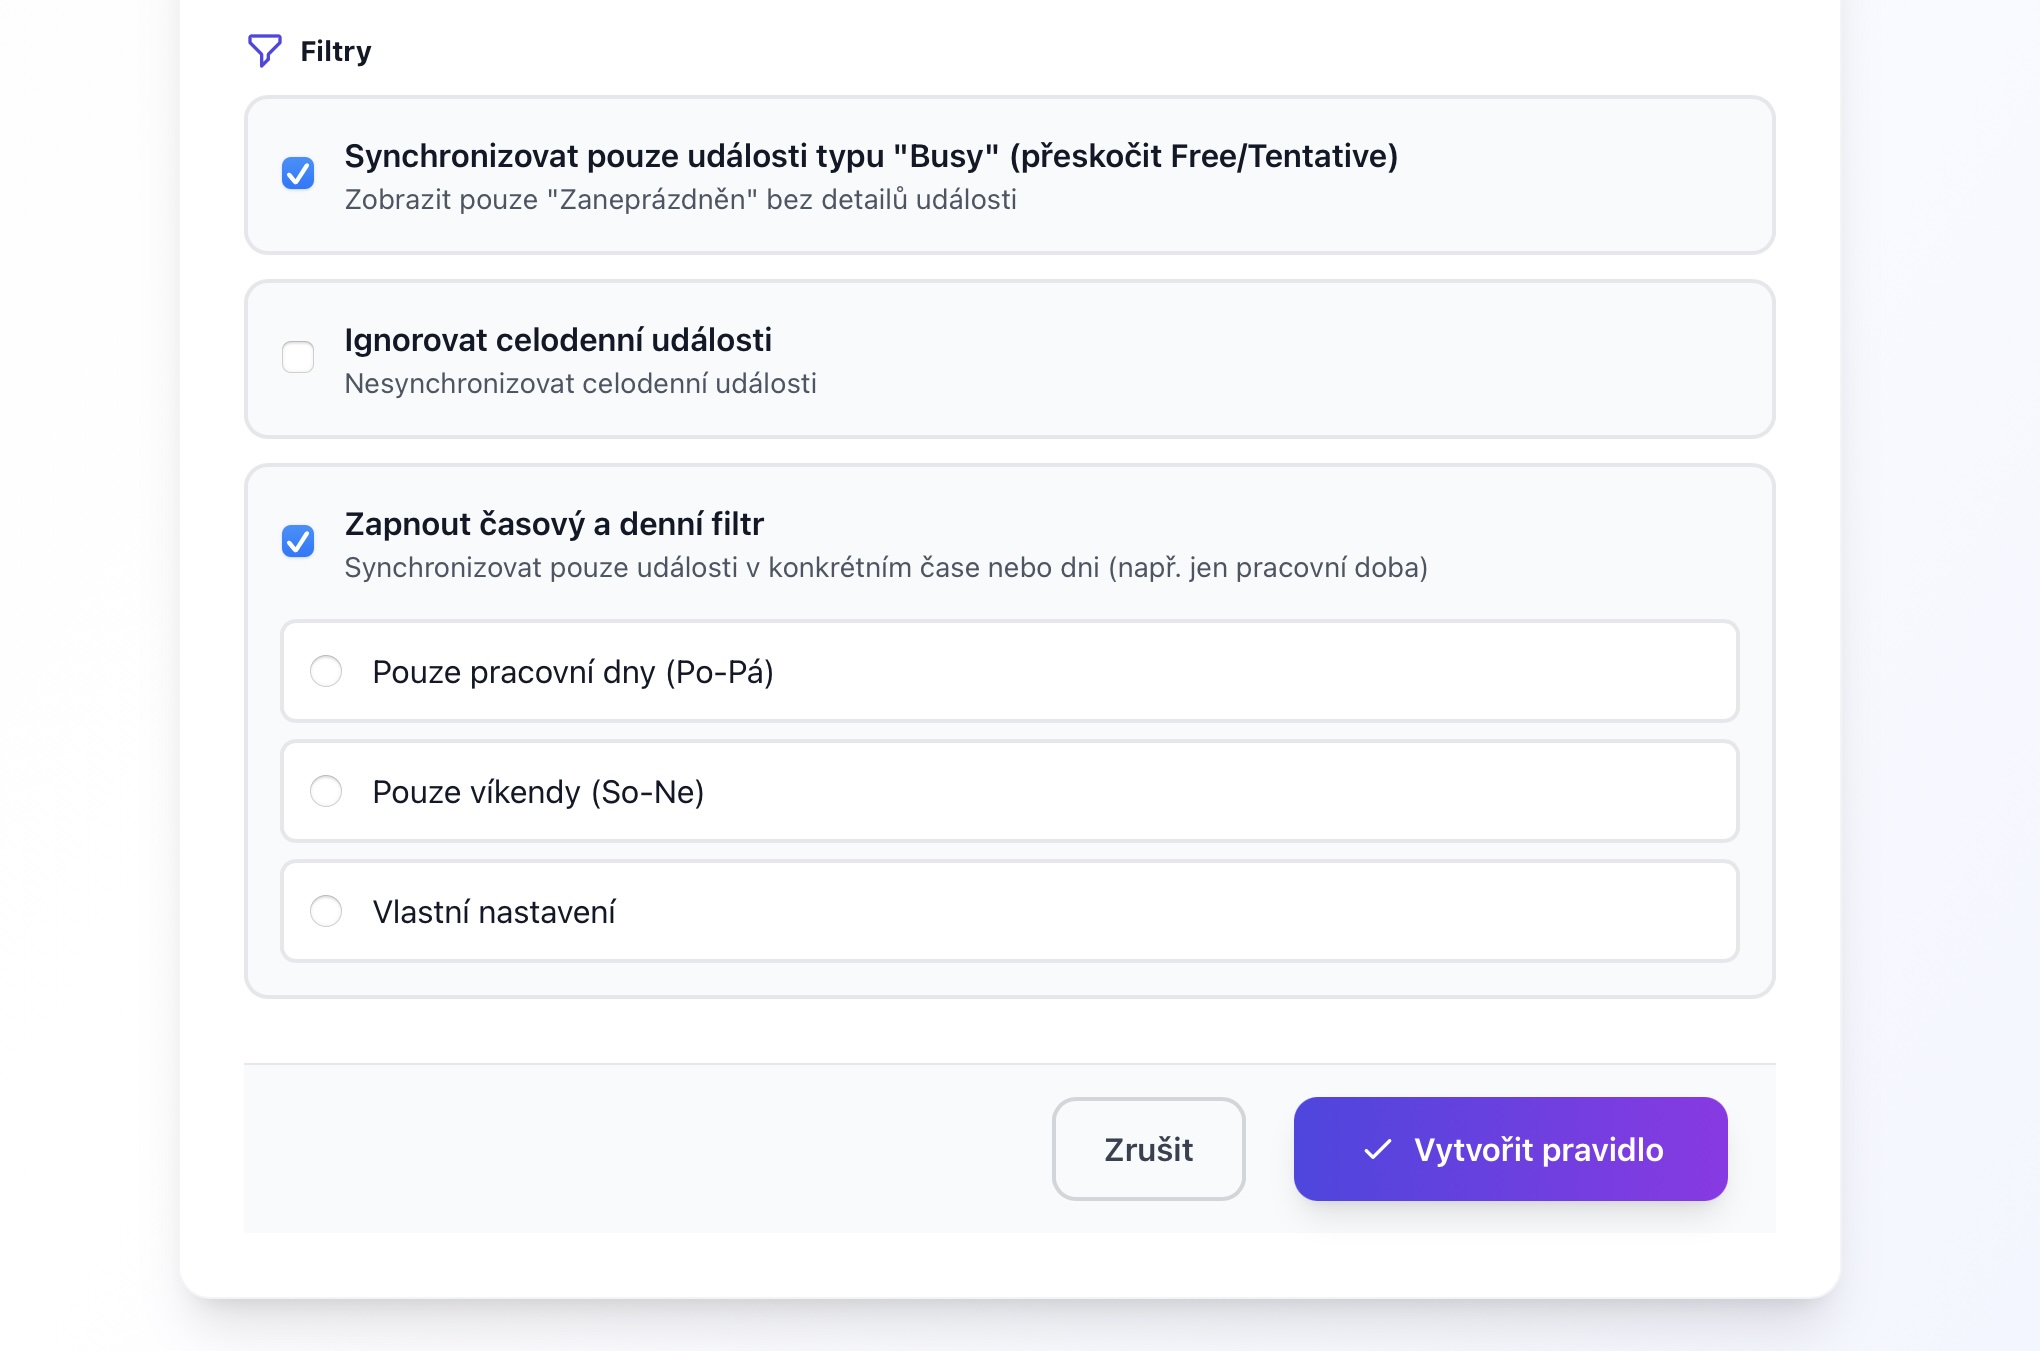 (öffnet das Bild in voller Größe)
Filter options with checkboxes and time selectors -
Review and Save
Review your sync rule settings and click Create Sync Rule or Save.
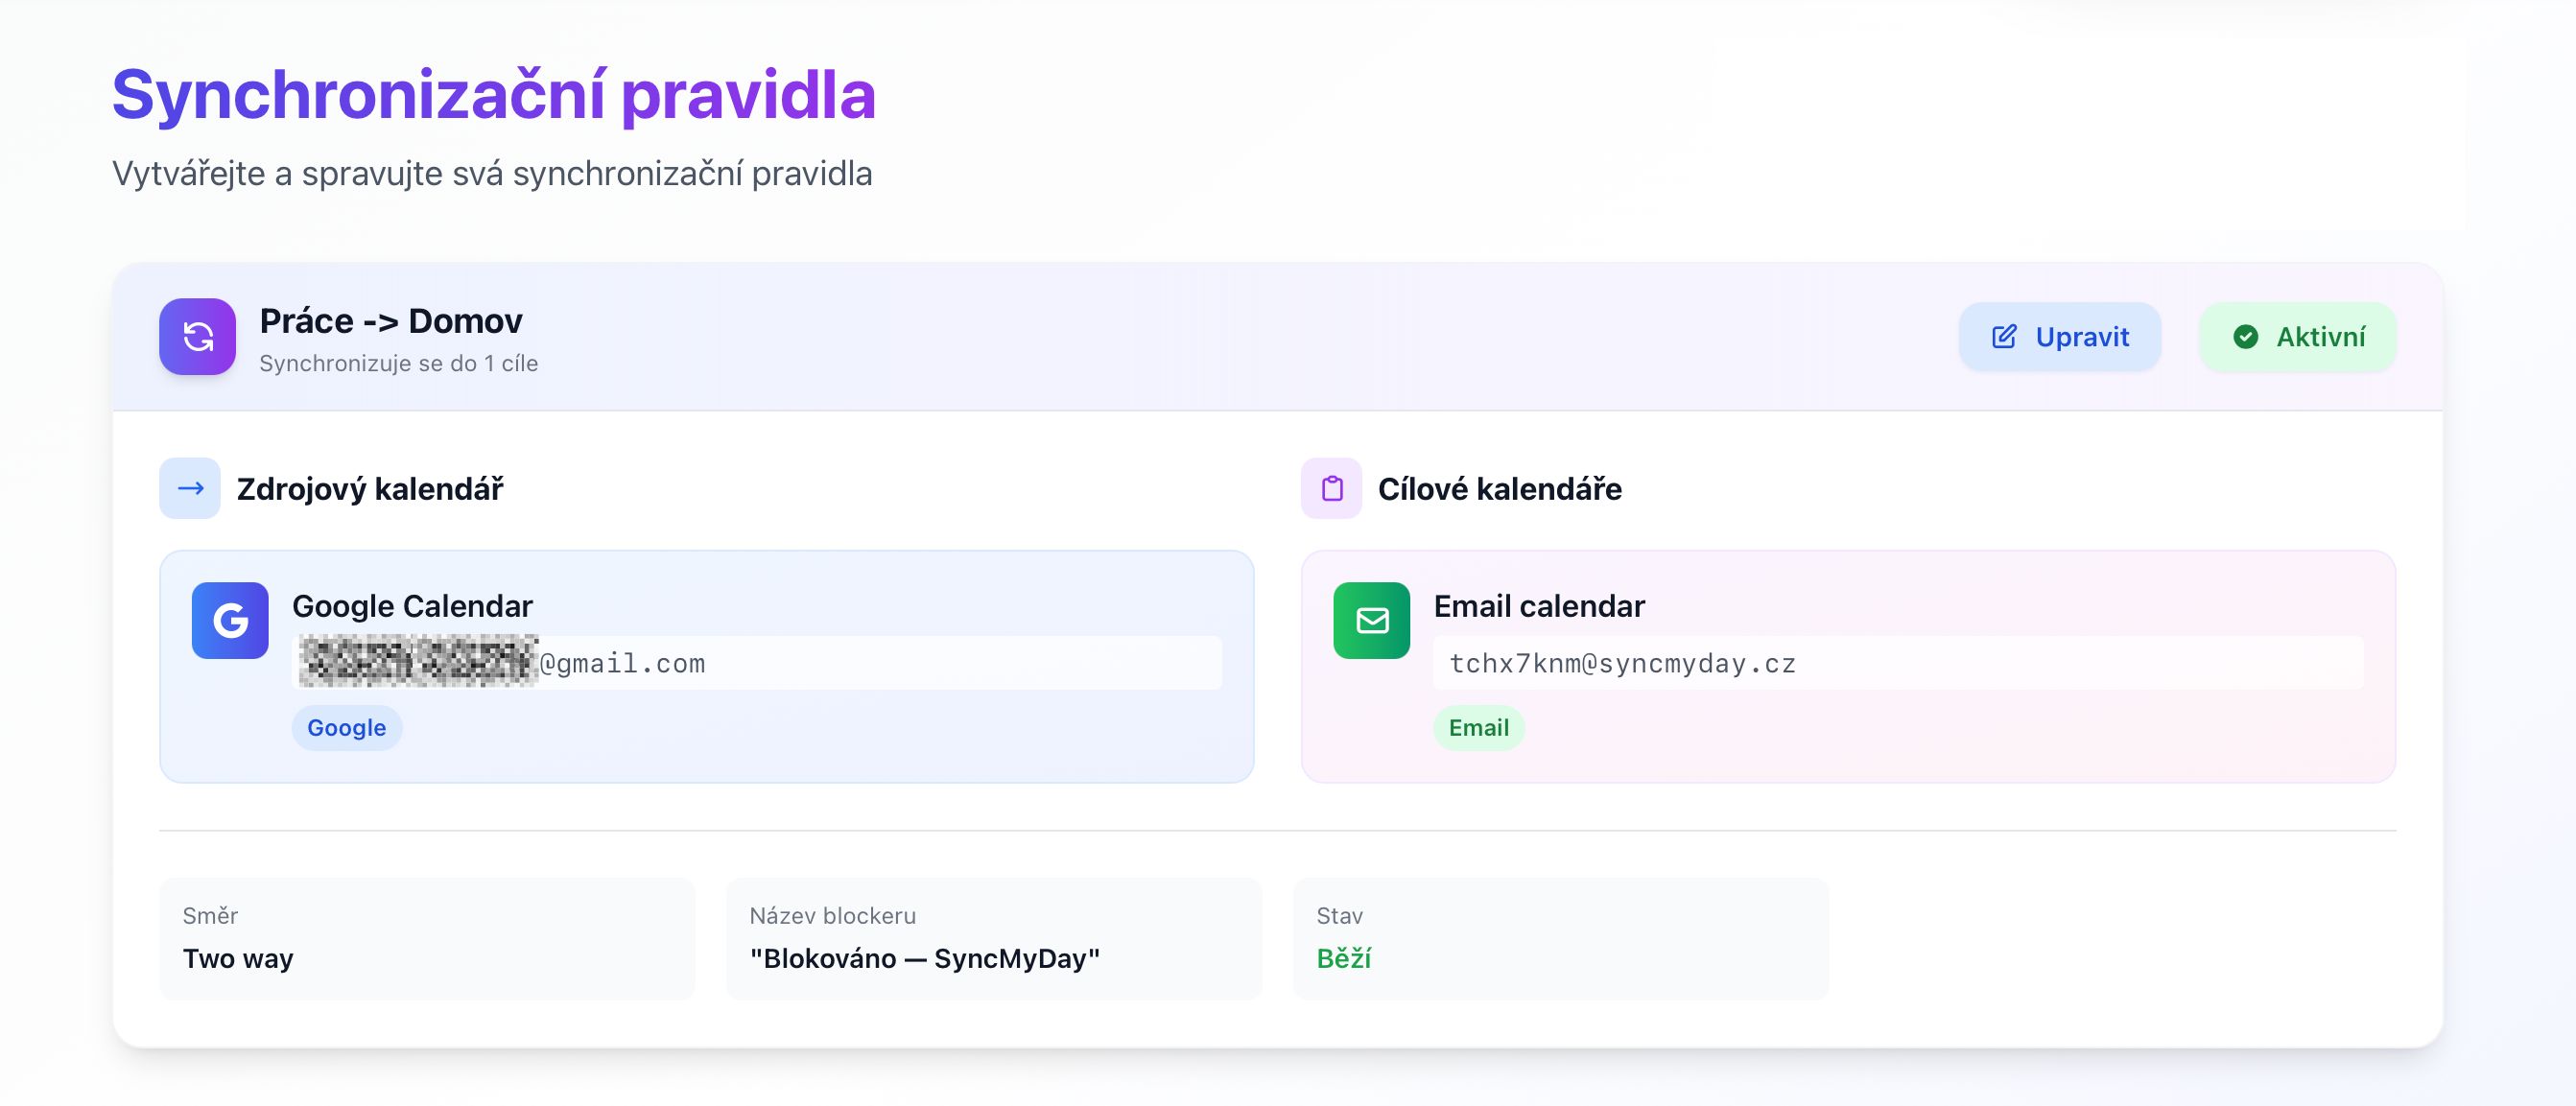 (öffnet das Bild in voller Größe)
Confirmation page showing active sync rule
Available Filters
Sync Only Busy Events
Only sync events that are marked as “Busy”. Skip events marked as “Free” or “Tentative”.
Use case: Prevent tentative meetings from blocking your other calendars until they’re confirmed.
Ignore All-Day Events
Don’t sync all-day events like holidays, birthdays, or out-of-office days.
Use case: All-day events often don’t need to block your other calendars (e.g., public holidays).
Work Hours Only
Only sync events that fall within specific hours and days.
Use case: Only block your work calendar during work hours. Personal events in the evening or weekends won’t sync.
How Far Ahead
Blockers are created for events in the next 1–6 months (3 months by default); more are added as time goes on. A shorter period means faster syncing and fewer blockers. When the source is an e-mail calendar, the option isn’t shown – everything received by e-mail is synced.
Send Invitations Ahead (E-mail Calendar)
In an e-mail calendar every blocker is a separate invitation. We send it once the event is 1, 2 or 4 weeks away (2 weeks by default), and at most 20 new invitations a day – the soonest first. Changes and cancellations of invitations already sent go out right away.
Common Sync Rule Examples
Personal → Work
- Source: Personal Google Calendar
- Target: Work Outlook Calendar
- Title: “Personal Time”
- Filters: Work hours only (9–5, Mon–Fri), Busy events only
- Result: Colleagues see you’re busy during personal appointments, but only during work hours
Work → Personal
- Source: Work Outlook Calendar
- Target: Personal Google Calendar
- Title: “Work Meeting”
- Filters: Ignore all-day events, Busy events only
- Result: Your personal calendar shows when you have work meetings (useful for family planning)
Family Calendar → Work
- Source: Shared family Google Calendar
- Target: Work calendar
- Title: “Family Commitment”
- Filters: Work hours only
- Result: Team knows you’re unavailable for family events like school pickups
Multiple Personal → Work
- Source: Personal calendar
- Targets: Work Google + Work Outlook + Work iCloud
- Title: “Busy”
- Filters: Work hours, Busy only
- Result: Block all your work calendars at once
Managing Your Sync Rules
Pause a Sync Rule
Need to temporarily stop syncing? Click the Pause button on any sync rule. Blocker events will remain, but new ones won’t be created until you resume. Great for vacations or project changes.
Edit a Sync Rule
Click Edit to change any settings — filters, blocker title, target calendars, etc. Changes apply to new blocker events. Existing blockers remain unchanged unless the source event changes.
Delete a Sync Rule
Click Delete to permanently remove a sync rule. All blocker events created by this rule will be automatically deleted from your target calendars. This action cannot be undone.
Troubleshooting
Blocker events aren’t appearing
Check these:
- Sync rule status is “Active” (not paused)
- Source and target calendars show “Active” status
- Event meets filter criteria (check busy status, all-day, work hours)
- Wait a few minutes (CalDAV calendars poll every 15 minutes)
- Check if initial sync has completed (look for sync timestamp)
Too many/too few events are syncing
Adjust your filters:
- Too many? Enable “Ignore all-day events” or “Busy events only” or restrict to work hours
- Too few? Disable filters to sync all events, or adjust work hours to include more time
- Tip: Edit your sync rule and try different filter combinations until it works for your needs
Blocker events show wrong times
This is usually a timezone issue:
- Check your account timezone in Settings
- Verify source calendar timezone settings
- Check target calendar timezone settings
- If using CalDAV, ensure timezone is properly configured in the calendar service
Nächste Schritte
Technische Details
Für Entwickler und IT
Sync Engine Architecture
When you create a sync rule, here’s what happens:
- Initial Sync: All events from the source calendar within the time range (from yesterday to the chosen number of months ahead, 3 by default) are synced
- Webhook Registration: For Google/Microsoft, webhooks are registered to receive real-time notifications
- Event Processing: Each event is checked against filters before creating a blocker
- Blocker Creation: A new event is created in target calendar(s) with your custom title
- Tracking: A database record links the source event to blocker event(s) for future updates/deletions
Real-Time vs. Polling
- Google & Microsoft: Real-time via webhooks (1–2 minute latency)
- CalDAV & Email: Polling every 15 minutes
- Webhook renewal: Automatic every 3–7 days (varies by provider)
Filter Processing
Filters are applied in this order:
- Check if event is all-day (if “Ignore all-day events” is enabled)
- Check event status (if “Busy events only” is enabled)
- Check if event time falls within work hours (if configured)
- Check if event day is included in selected days (if work hours enabled)
An event must pass all enabled filters to be synced.
Duplicate Prevention
SyncMyDay prevents duplicate blocker events using:
- Unique identifiers linking source events to blockers
- Hash-based detection of existing blockers
- Cleanup of orphaned blockers when rules are deleted
Performance
- Database: Indexed by user, calendar, and sync rule for fast lookups
- Caching: Connection tokens and metadata cached in Redis (if available)
- Queues: Large sync operations processed in background jobs
- Rate limiting: API calls throttled to respect provider limits
Hat es nicht geklappt? Schreiben Sie uns, wir helfen Ihnen.